Prerequisites
- Xbox 360 Neighborhood installed as part of the SDK
- [OPTIONAL] Preconfigured base shortcut to edit(Here)
Creating the shortcut
- Make note of the neighborhood path of the game/app you wish to launch via a shortcut.
This will vary based on your folder setup but it will look something like this:
1
192.168.33.2\HDD\Games\Halo 3\default.xex
- Open a new file explorer window and navigate to where you want to store the shortcut (Desktop works).
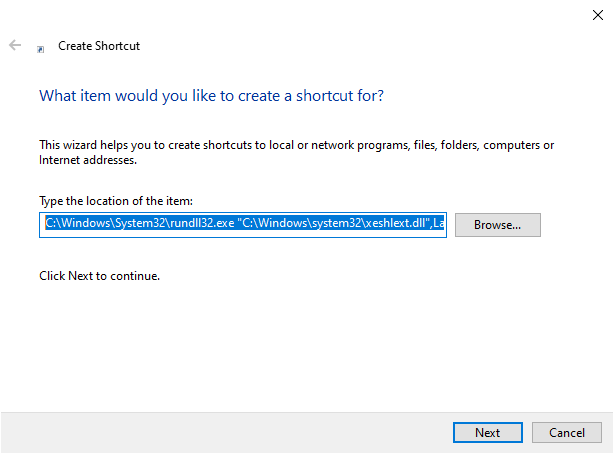
- Right click and select New > Shortcut from the pop-up context menu.
- Enter the following for the location:
1
C:\Windows\System32\rundll32.exe "C:\Windows\system32\xeshlext.dll",LaunchExplorer xbox://
followed by the path to the game/app noted in step 1. The combined path for this example is as follows:
1
C:\Windows\System32\rundll32.exe "C:\Windows\system32\xeshlext.dll",LaunchExplorer xbox://192.168.33.2\HDD\Games\Halo 3\default.xex
- Click next and give the shortcut a name.
- Done. You should now have a functioning shortcut to launch your game/app remotely.
Set a display icon for the shortcut
This part is optional. The icon can be set to anything you want but these steps will show you how to use the relevant Neighborhood xex icon.
- Right click on the newly created shortcut and select properties.
- Click the Change Icon… button.
![img3 img]()
- Click the Browse… button and look for the file named xeshlext.dll in C:\Windows\System32 (It should open here by default).
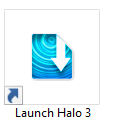
- Select the icon Neighborhood uses for xex files and click the OK button.
![img4 img]()
- Apply changes using the Apply button.
Done
Result
Notes
- An example shortcut has been provided in the Prerequisites section. You can simply copy/paste this and change the path to save some time.


