Disclaimer
I am in no way responsible for the loss of any data while following these instructions. This process involves replacing files in the system32 directory and the user should fully understand what they’re doing before proceeding.
Prerequisites
- Xbox 360 Neighborhood installed as part of the SDK
- My custom Blue Neighborhood file pack (Here)
How to
-
Extract the contents of Byroms-Blue-Neighborhood-Mod-V1.zip to a folder on your desktop.
At this point you should have this:
![img1 img]()
- Open a new file explorer window and navigate to C:\Windows\System32
- Locate the file named xeshlext.dll and rename it xeshlext.dll.BAK
- Copy the replacement xeshlext.dll from the files we extracted in step 1 into the system32 directory.
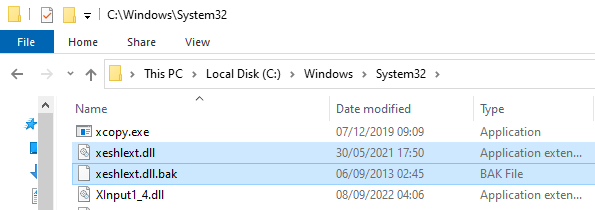
At this point you should have this:
![img2 img]()
- Close any open applications/windows other than the one containing the extracted files in step 1.
- Right click Clear_Icon_Cache(RUN AS ADMIN).bat and run it as Administrator.
NOTE: Alternately you can follow the instructions at https://www.windowscentral.com/how-reset-icon-cache-database-windows-10
Done
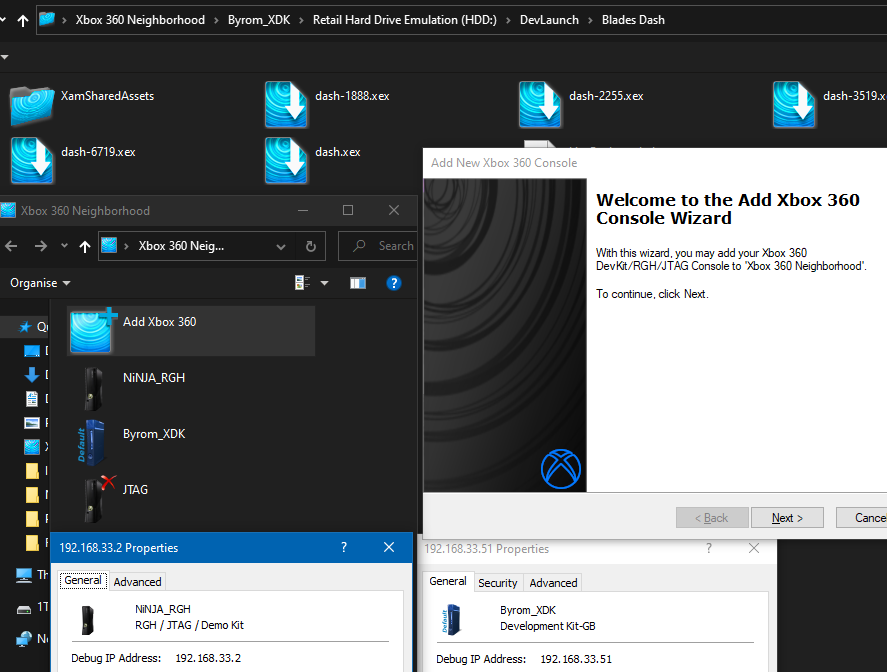
Result
Notes
- Some icons may still appear as the originals for a while before eventually changing (usually after a few reboots). This is completely normal and should resolve itself with time.


